Home Page
After the shift is opened, Home page screen displays.
List of items and their item groups, item stock , item rate , payment methods, Cart, Search bar and other modules will be displayed on the home page.
Note : Ensure that the items and item groups are created in ERP to display on homepage
.jpg "Group 1 (1).jpg")
Click on the item group on the left panel to view items in different groups/Categories, as shown in the below screenshot. Eg: “Men's Tshirt” category is selected.
Home page Search Bar
Home Page Search Bar: It allows you to search items in the Search bar field.

The search bar provides the result as soon as you start typing. Check the below screenshot.
Clearing the search text will revert to the original listing of items/products.

Customer Journey
Add new customer: As users type, Search by customer name /number” field a dropdown menu appears with fields for entering the customer's details. The user will enter mandatory fields: Customer's name and mobile number whereas email address is optional. Click on Add & proceed button.
Now new customer will display in the “Search by customer name /number” field and POS user can start adding the items in the cart to create the order.

Search the existing customer by name /number, a dropdown list of customers along with their number appears. Select the required customer and start ordering.
.jpg "Group 1 (2).jpg")
Quick Order
Quick order: users can proceed for quick and efficient checkout processes, allowing cashiers to serve customers promptly.
When the user clicks on the Quick Order button, the system will automatically select a guest customer in the customer field. This feature allows users to quickly proceed with placing an order without entering specific customer details.
.png "Group 2 (1).png")
Add items to Cart
When an existing customer is selected or a new customer is added, Click on the Add button showing on the item.
A popup will display, from where qty of an item can be modified. After adjusting the quantity, the user can click the "Add to Cart" button to add the item to their cart.
As the qty of an item is changed item total will also change accordingly.
Clicking on the close button will close the popup, and no item will be added to Cart.

Below displays the item added to the cart.

Select any payment method, the change amount screen displays, after entering the amount ,clicking on “OK” on that screen the order is placed successfully.
After the order is placed successfully, the success message will display "Order placed successfully” and the printer will print the invoice.
After the order is placed successfully, the stock of an item is updated.
Note : Ensure that the printer must be configured with the application to print the invoice.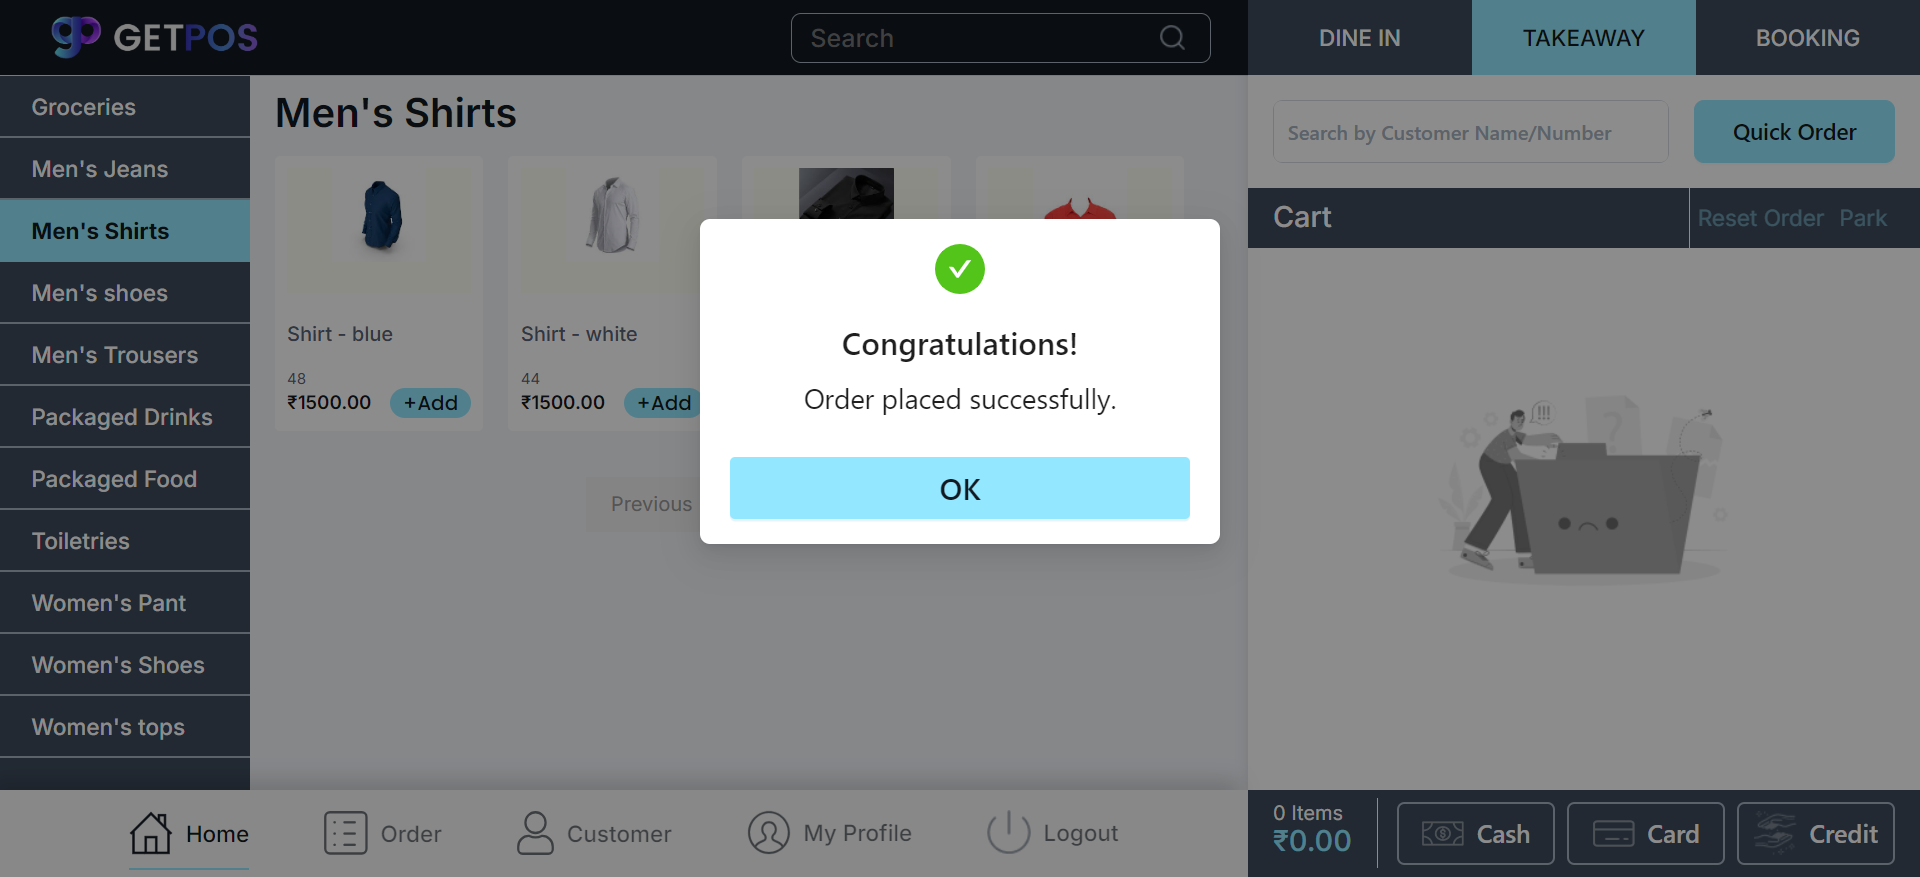
Cart
Item details: It displays the item details like Product name, unit price, qty and total. The Quantity of an item can be increased or decreased from here.
On clicking the delete icon, will remove the item from the cart.
Reset Order: Clicking on reset order will empty the cart items and customer information.
Once all items have been removed from the cart, users can proceed to add new items or select a different customer for the cart. This enables the creation of a fresh new order.
Park: Clicking on the park link, it will move the current order in the cart to the following tab Orders> parked tab.

Grand total: The cart displays the grand total, which includes the total cost of all items. Grand total automatically updates when a user adds or removes items from my cart.
Payment methods: The cart prominently displays three payment options:
Cash
Card
Credit
The user can select their preferred payment method by clicking on the corresponding option. Only one payment method can be selected at a time.

Promotions
It allows the user to enhance customer engagement and boost sales. The cart displays three Promotions.
Loyalty points
Gift Card
Promocodes
Change Amount screen: The Change Amount screen is where the system calculates and displays the change due to the customer after a cash payment has been made.
This screen clearly shows the amount tendered by the customer, the total amount of the transaction, and the difference, which is the change to be returned. This feature ensures accurate and transparent cash handling, helping both the cashier and the customer verify that the correct amount of change is provided.

Promotions
Loyalty points: Loyalty points is a system where customers earn points with each purchase. These points can then be redeemed.
Create a loyalty point program in ERP in loyalty program doc type and assign the program to the Customer.
Go to customer list doc type , Click on Accounting tab and assign loyalty program to customer and click on save button.

Now customers make purchases and accumulate points based on their loyalty program assigned to them.

The system allows for flexibility in how points are utilized during a transaction, enabling customers to use their accumulated points in full or in part to offset the cost of their purchase.
Type the loyalty points in the field highlighted below in the cart and click on ✅ icon to apply the loyalty points.
Loyalty points value will display in the cart according to the loyalty program selected.
Now select the payment method and order successfully.
Loyalty points will be updated in real-time after transactions.

Loyalty points value will also display in the summary of the order in the completed orders tab.
Gift Card: are cards that can be used as an alternative to cash for purchasing goods
In ERP, Gift card doctype is used to create gift card codes and assign them to the customer.

Once a gift card is successfully assigned to a customer, the gift card is promptly delivered to the customer via the email address associated with their account.
Select the customer and apply the Gift card code in the cart and click on ✅icon to apply the gift card and message appears “Gift card applied successfully”. And simultaneously gift card value is calculated and displayed in the cart.

Note: If the grand total is equal to or less than the gift card amount, all the amount equal to total will be deducted from the gift card.
If the grand total is more than the amount of the gift card amount, then the remaining grand total amount will be taken by Cash/Card.
Remove the gift card by clicking on ❎ icon, message appears “Gift card has been removed.
Gift card used amount and balance amount after applied on transaction will display at ERP end.
Promo Codes/Coupon Codes: Promo codes are unique codes that offer customers special discounts.
In ERP, Coupon code doc type is used to create codes to display them in the front end.
Here,in the cart, clicking on the promo code field displays the list of all promocodes. Clicking on Apply link, will display the code in the above field and again click on “Apply”. Message displays ”Promocode has been applied successfully”

After successful message displays , Applied Promo Codes/Coupon Code is displayed in the promocode field showing in the cart.
Simultaneously it displays the promo code value in the cart.

Promo Code value applied displays in the summary of the order also.

Promotions on Print Receipt: There is a facility to print promotional code on print receipt.
Promotional code added in ERP in “Theme settings” will display the code on print receipt provided to customers. This code can be used by the customers on next purchase.
Edit item’s unit priceAbility to modify item rates or prices directly within the POS system, ensuring flexibility in pricing adjustments.
Add the items in the cart, click on the unit price of the item. The field becomes editable.
Now change the price of an item within the adjustable limit set in the ERP.
POS Profile user have the ability to change the rates within a threshold limit of say 5% i.e. 5% more than current rate or 5% less than current rate. Any rate change above or below this threshold will require authorization.
System user will authorize the edited price by entering the valid password and click on the authorize button.
Clicking on ❎icon will remove the popup and it reverts to original price.

Barcode Scanning
The barcode scanning functionality allows for quick and accurate product identification at the point of sale.
By scanning the barcode on a product, the system instantly adds it to the Cart.
Scanning the same barcode twice will increase the quantity of an item.
Note: Customer selection is mandatory before scanning the item.
Modes of Payment
Cash: Cash payment mode allows customers to pay for their purchases directly with cash at the point of sale.
Once the cash is received, the transaction is completed, and a receipt is provided to the customer.
Card: Card payment mode enables customers to pay for their purchases using a debit or credit card.
Credit Order: Provision for customers to make purchases on credit, facilitating deferred payments and improving customer convenience and loyalty.
In the ERP system, Firstly a credit limit should be initially set for customers, and only those with an assigned limit are eligible to make purchases on credit.
By default the Credit limit is set as “ZERO”.
When a customer with an available credit balance makes a purchase and opts for the "Credit" option, the purchase amount is deducted from their existing credit limit.
If the credit limit is insufficient to cover the total order amount, the system will display a validation message stating “Insufficient credit limit.”


